EMBEDDED SOFTWARE DEVELOPMENT
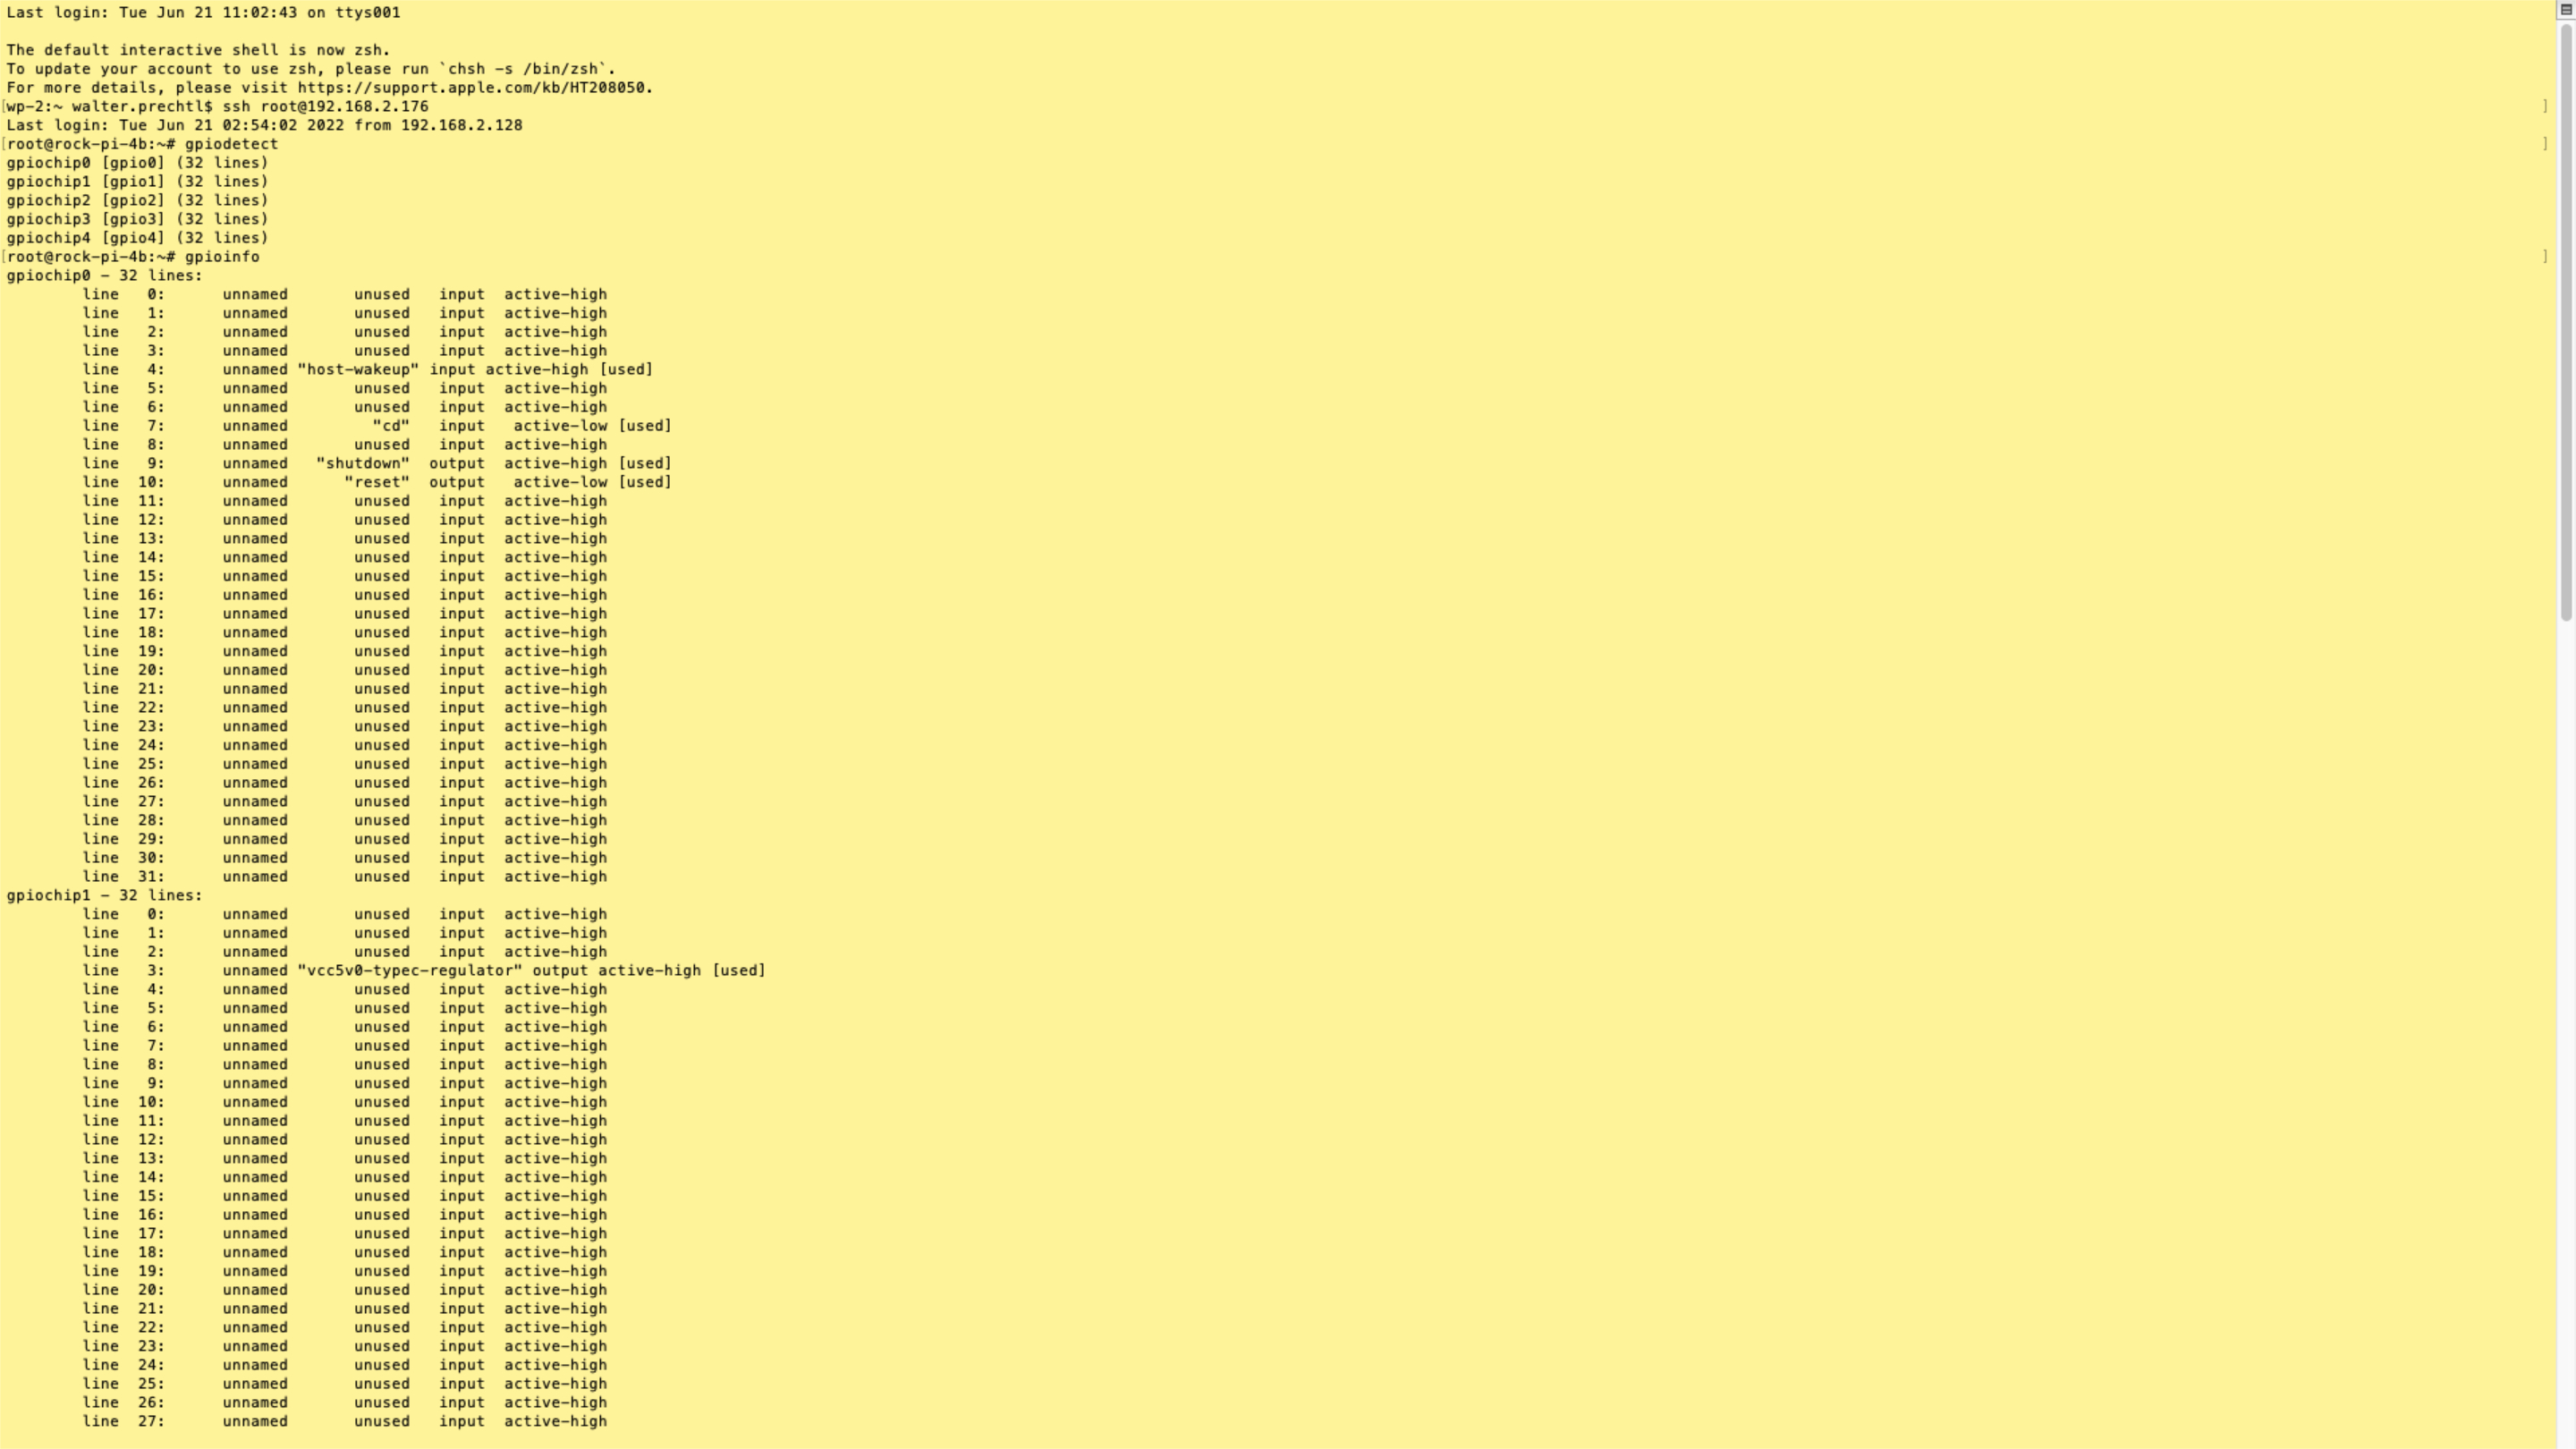
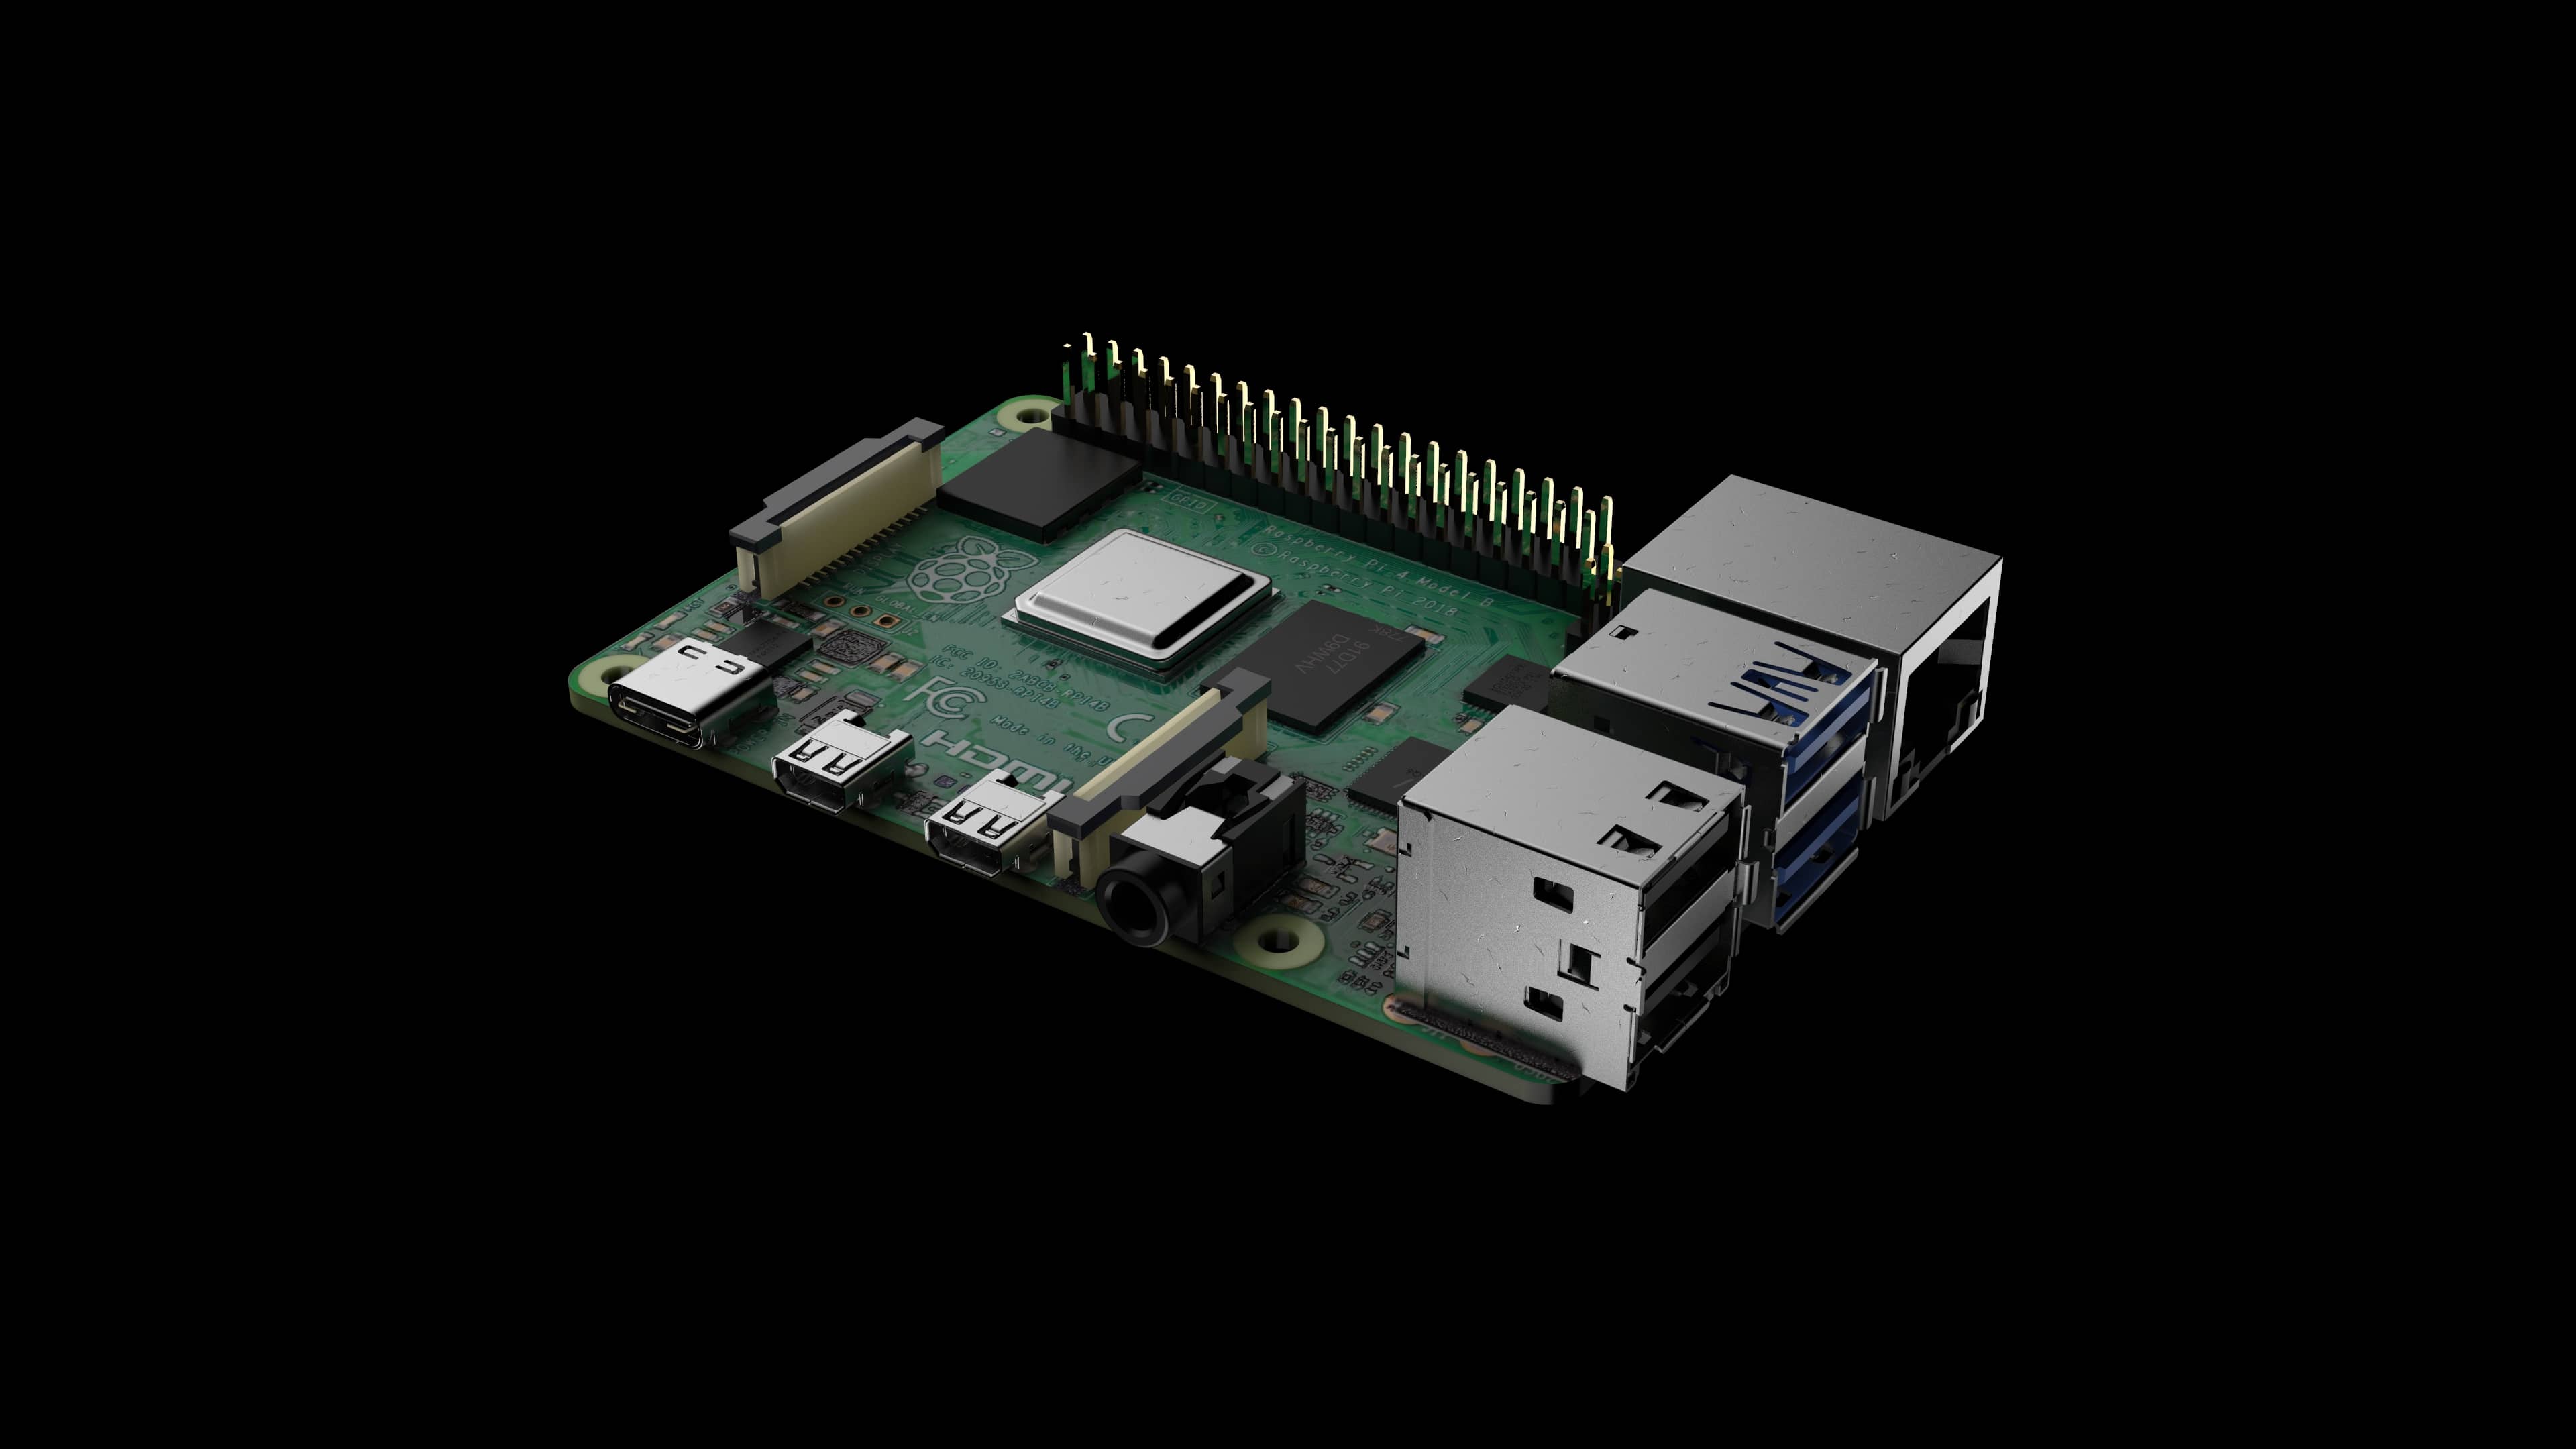
Embedded software is specialized computer software designed to operate on Embedded HMIs not typically considered traditional computers. The hardware (CPU/RAM/FLASH MEMORY) is extremely optimized for the application and therefore limited. The operating system is heavily optimized to have only the necessary software for the application - Nothing else. You compile your operating system tailored to the application. It powers various systems, from household appliances to industrial machines and even versatile tools like the Raspberry Pi. The Raspberry Pi, a compact and affordable computer, is famous for learning and experimenting with embedded systems. With it, you can write and run software that controls various hardware components, providing a hands-on way to explore the world of embedded software development. This page offers a collection of tutorials to help you get started with Raspberry Pi and embedded software projects.
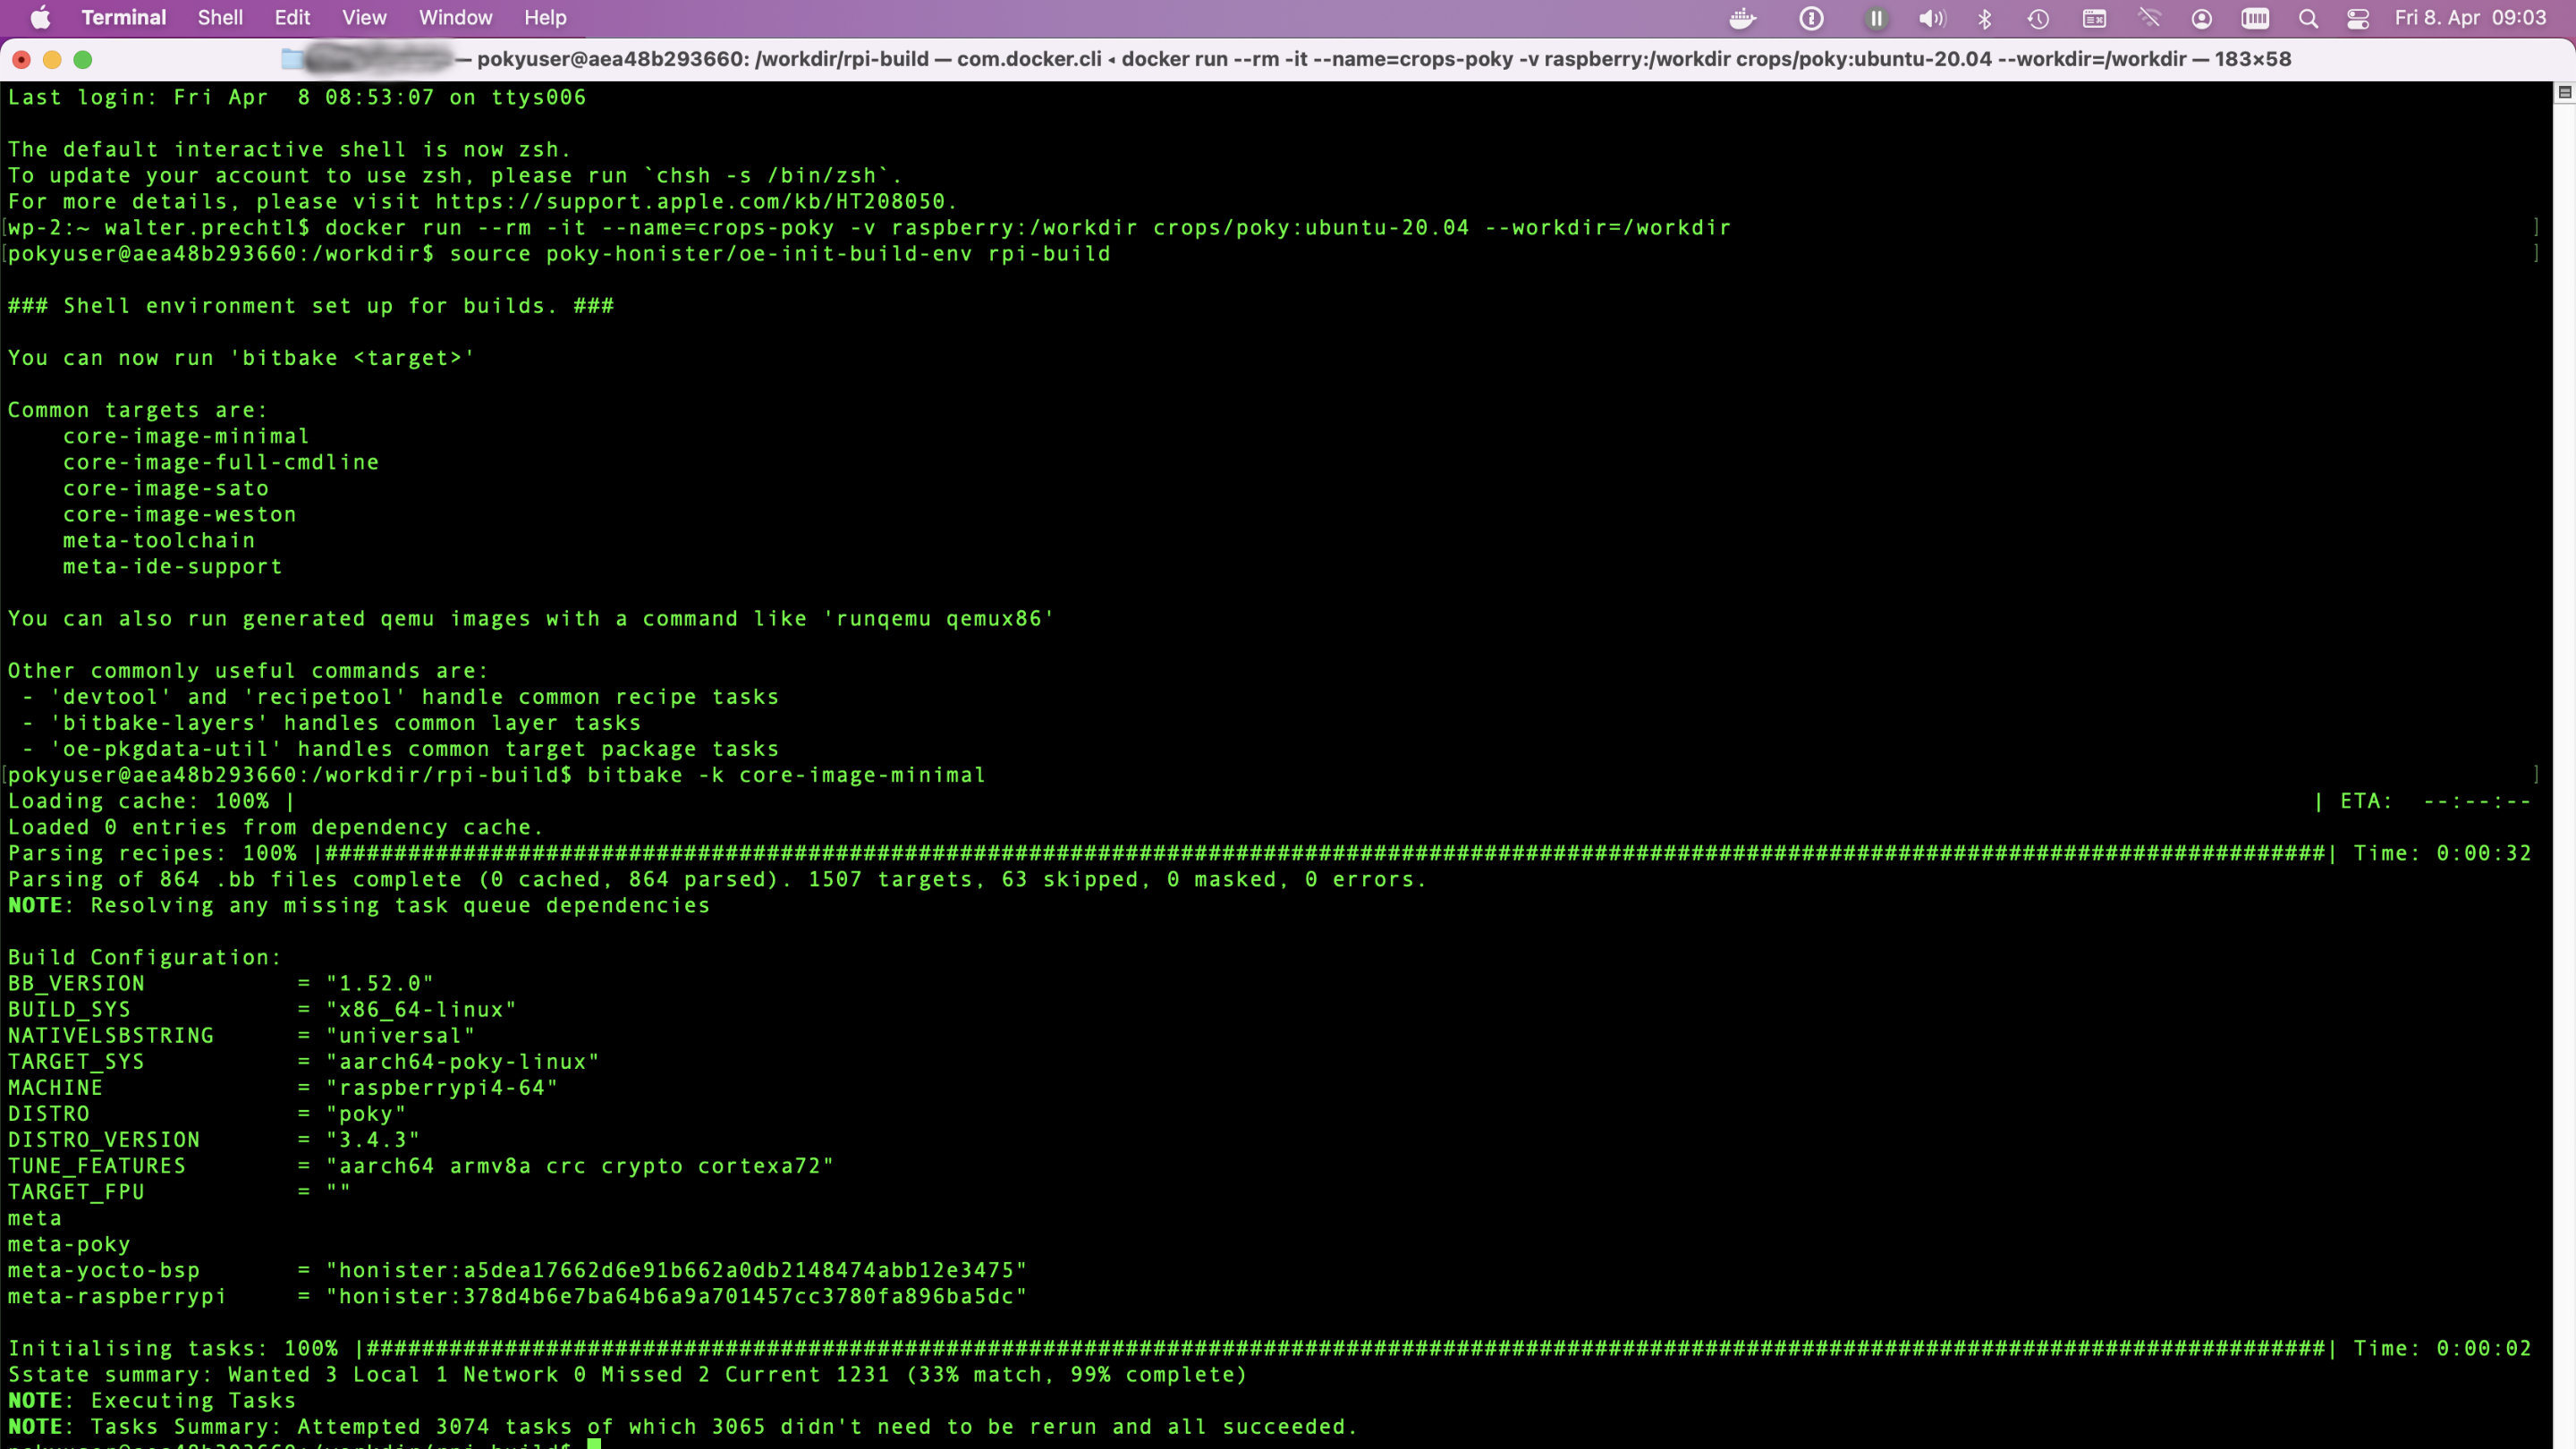
This tutorial will guide you through building a Yocto image for the Raspberry Pi 4 using a Docker environment. By following these steps, you’ll leverage Docker’s isolation to avoid conflicts and ensure a clean build process. We’ll start by setting up Docker on your system, then create a container tailored for Yocto development. Within this container, we’ll clone the Yocto repository and configure it specifically for the Raspberry Pi 4. Using BitBake, we’ll compile the necessary software components into a complete image. Finally, you’ll transfer this image to an SD card and boot your Raspberry Pi 4. This approach ensures a consistent, reproducible build environment, making your development process smoother and more efficient.

Normally, if you create your custom linux image with Yocto for a Raspberry Pi, you also want to show a custom splash screen with a progress bar.
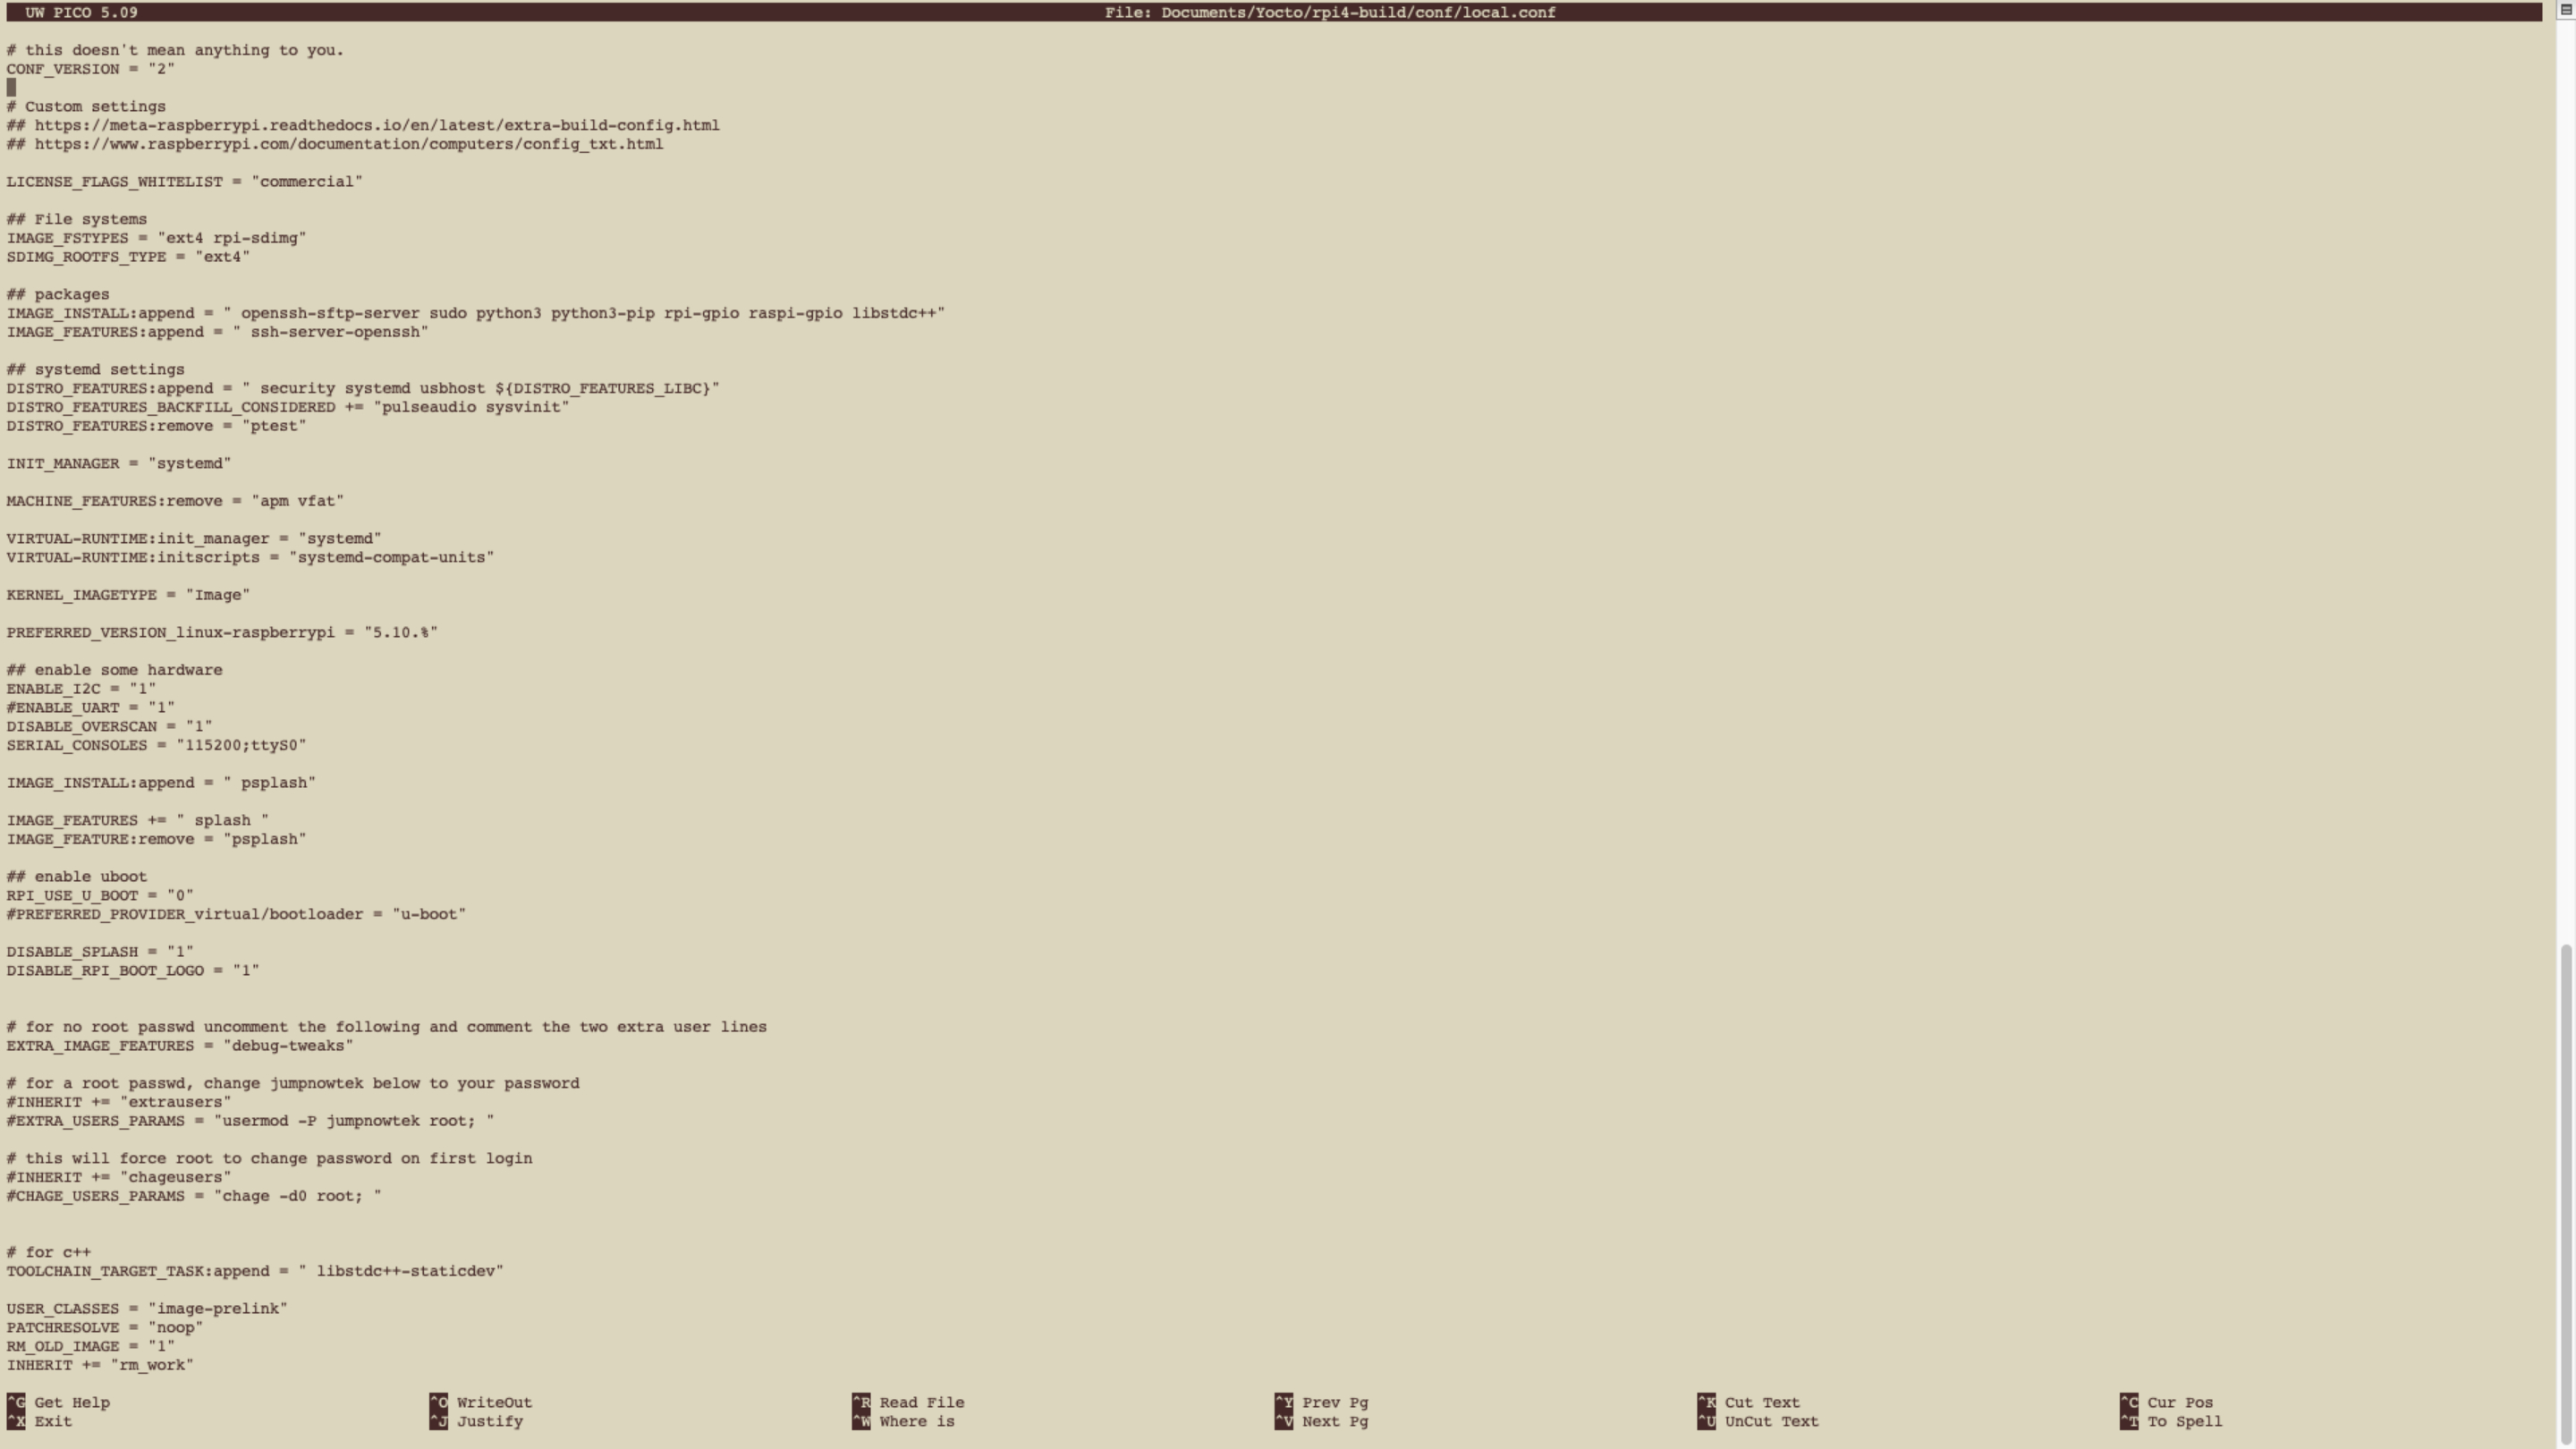
In this guide we provide you informations, how to setup a Yocto Project to install Qt and a Qt demo application for a Raspberry Pi 4 and then autostart this Qt demo application.
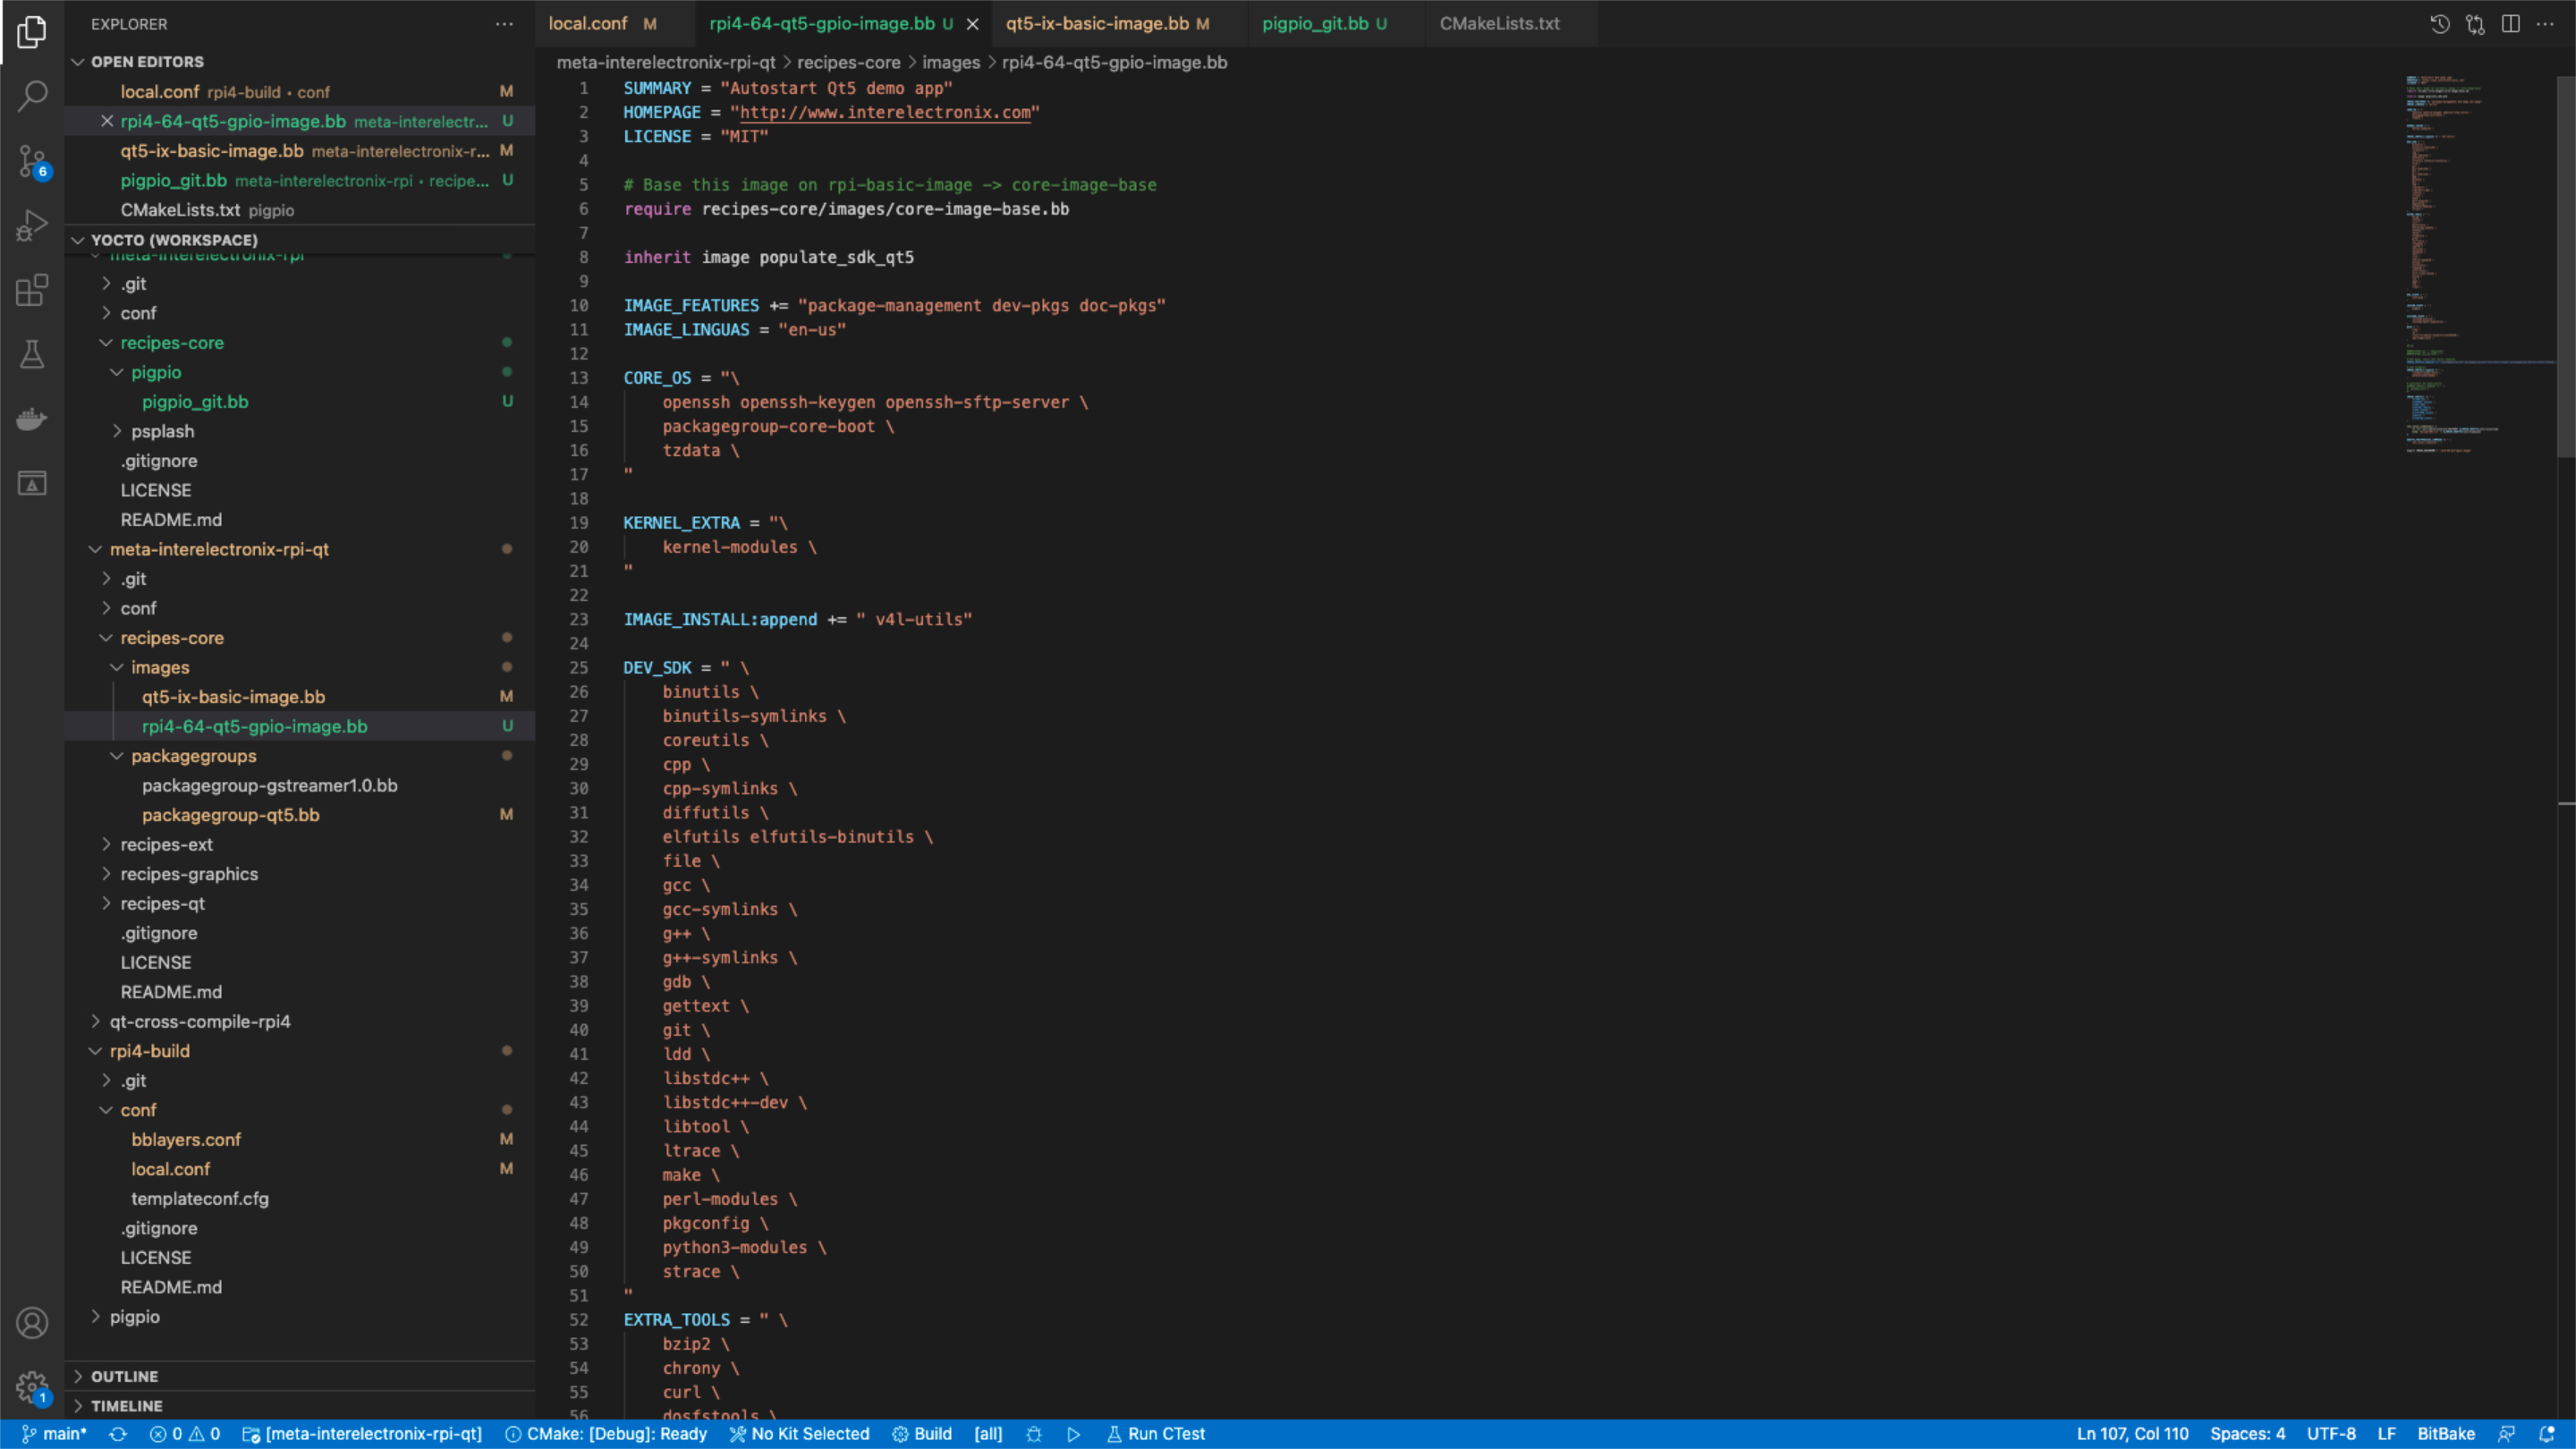
Configure Yocto to create a customized Linux for Raspberry Pi 4 with integration of pigpio library, Qt and a toolchain for cross compilation.
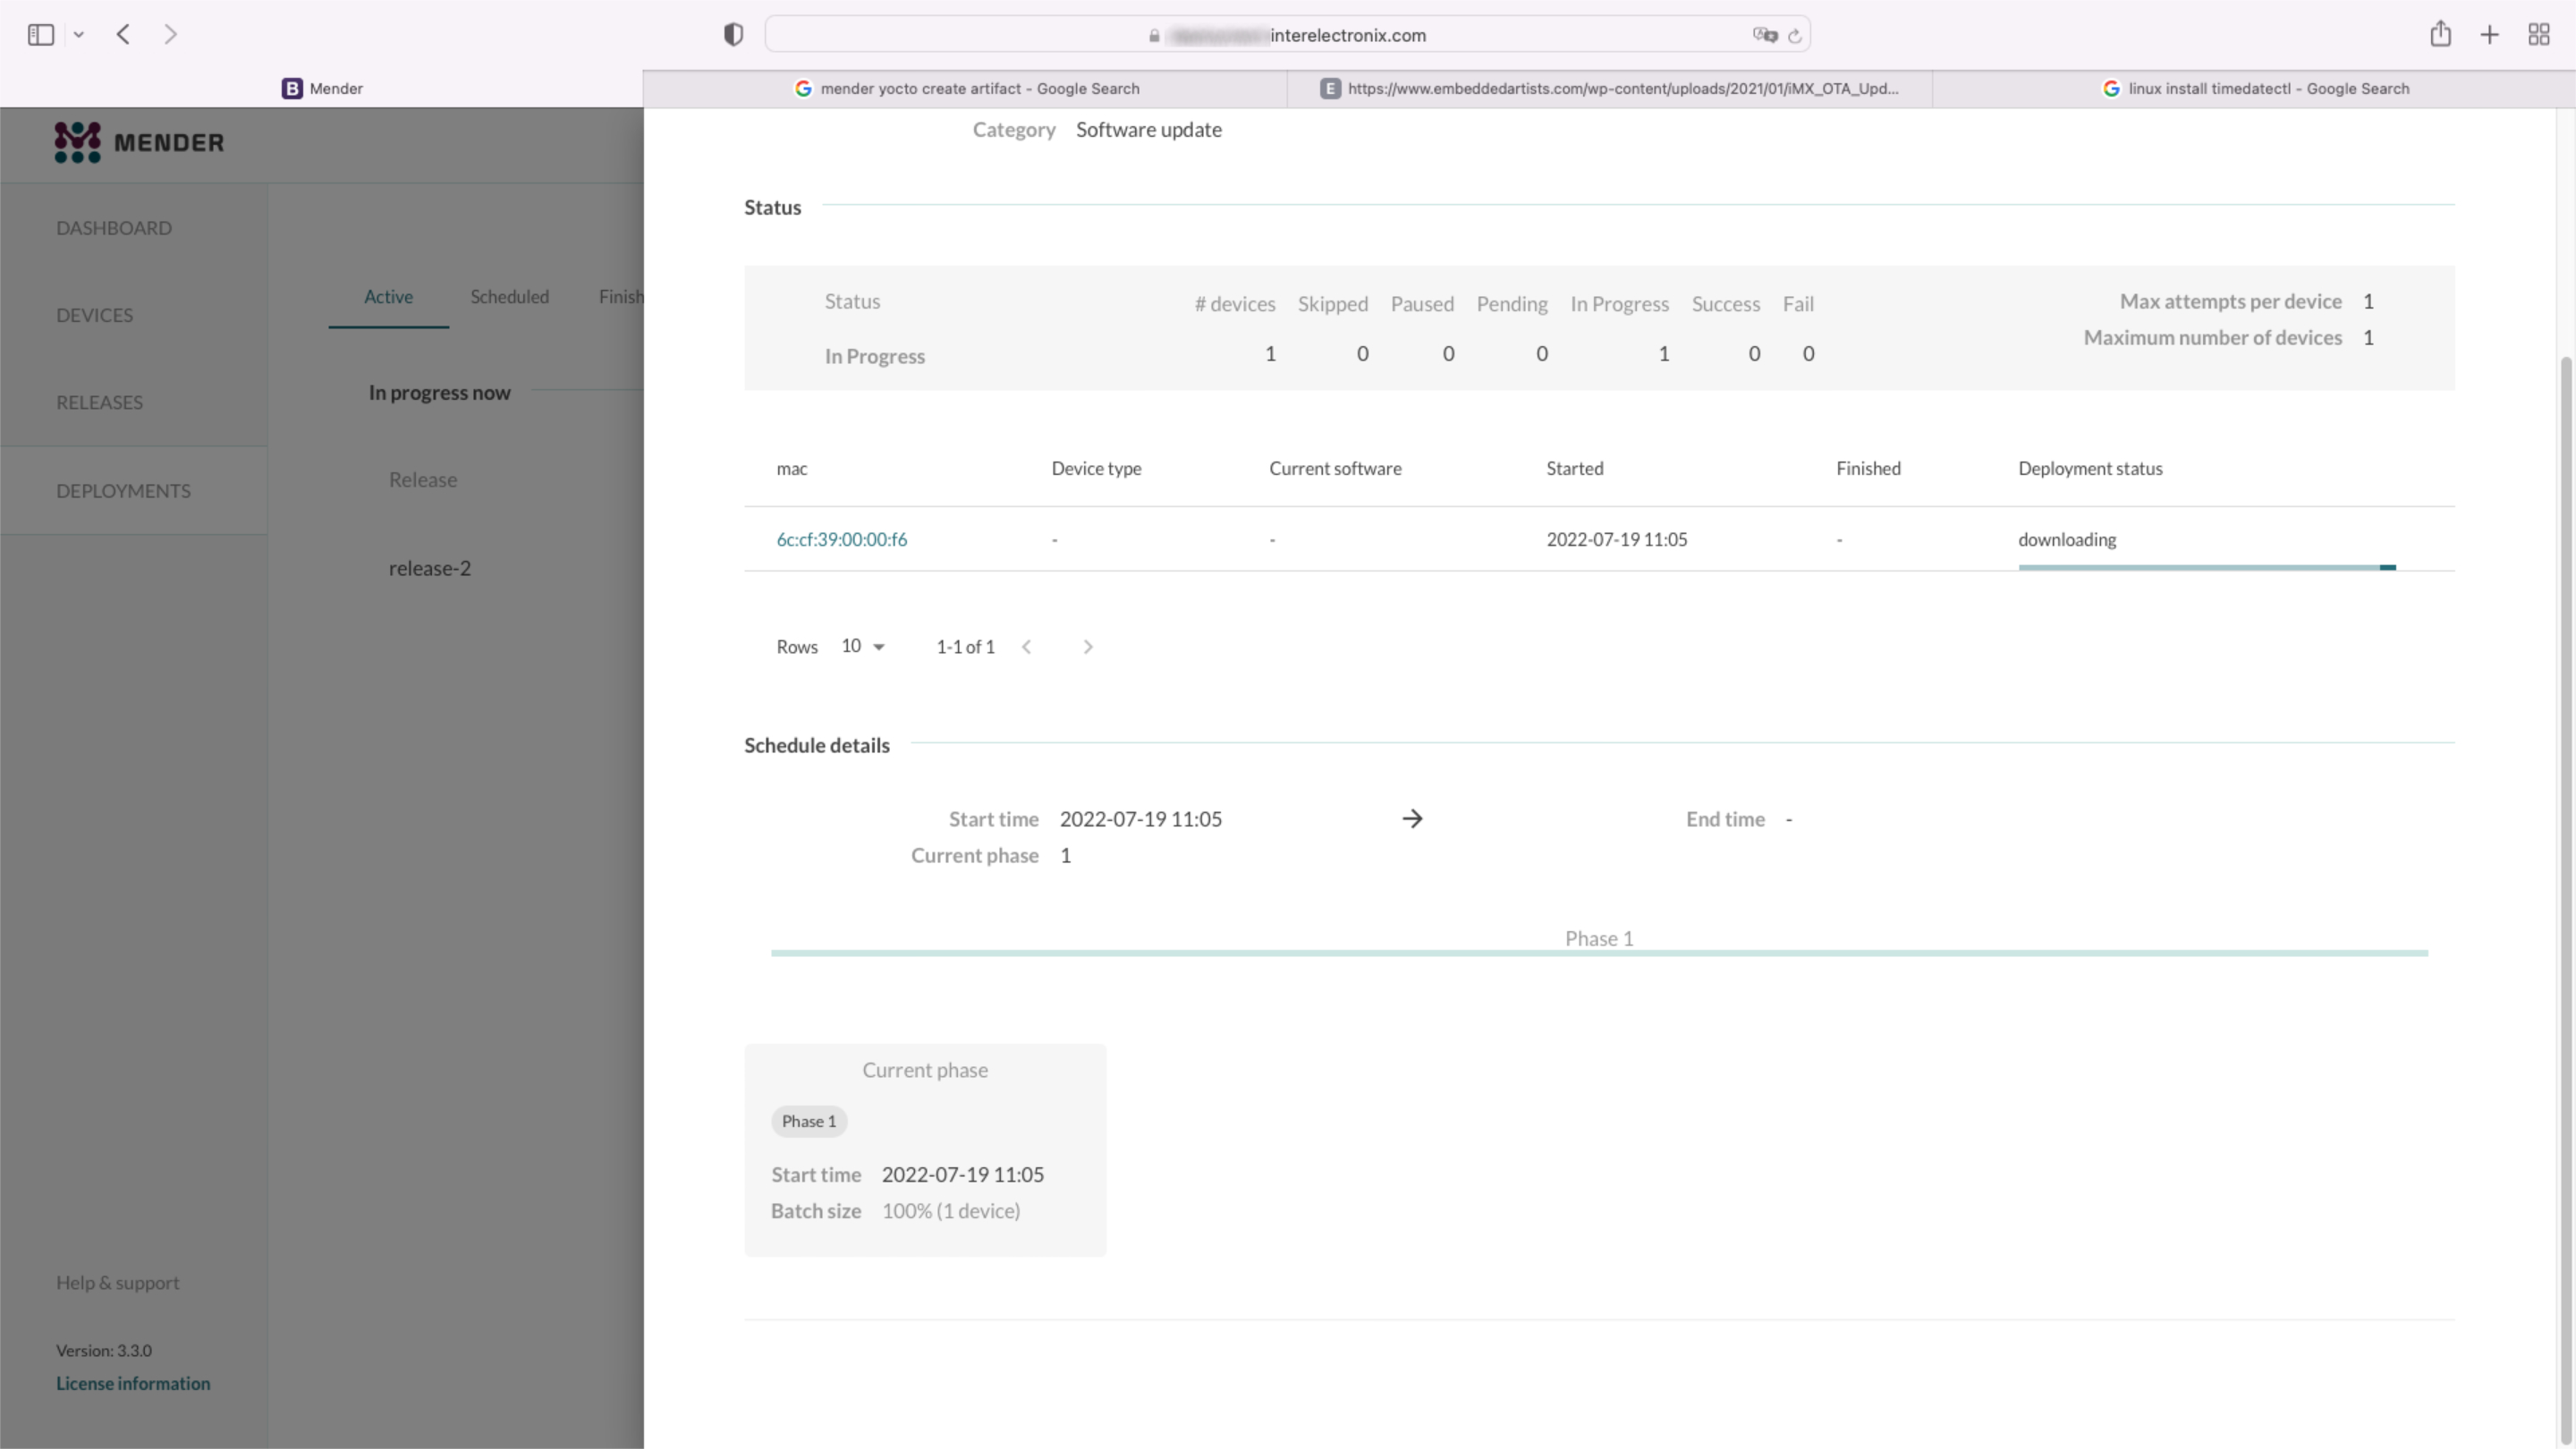
Part 1 of a series of articles, how to set up a Yocto environment to create a Yocto Linux with the integration of a Mender client.
Recently I had to develop an application (kiosk system) for/on a Raspberry Pi 4. The special thing about it was that 2 touch monitors were to be connected via HDMI, which had to be rotated 90 degrees to the right. So portrait formats, 2 monitors on top of each other.
Rotating the screen and arranging it on top of each other did not cause any problems, as this is easily possible via the user interface - a "Raspbian Buster with desktop and recommended software" was installed.
Due to the frequent writing or overwriting of data, the lifespan of an SD card is affected.
For example, it is recommended to write temporary data (e.g. sensor values for comparative calculations) to a RAM disk for applications that often contain temporary data (e.g. sensor values for comparative calculations) that are no longer needed after a restart.
You can also use the USB-C interface of the Raspberry Pi 4, which is normally used for power supply, as a normal USB interface.
In this case, however, the Raspberry should supply power via the GPIO pins.
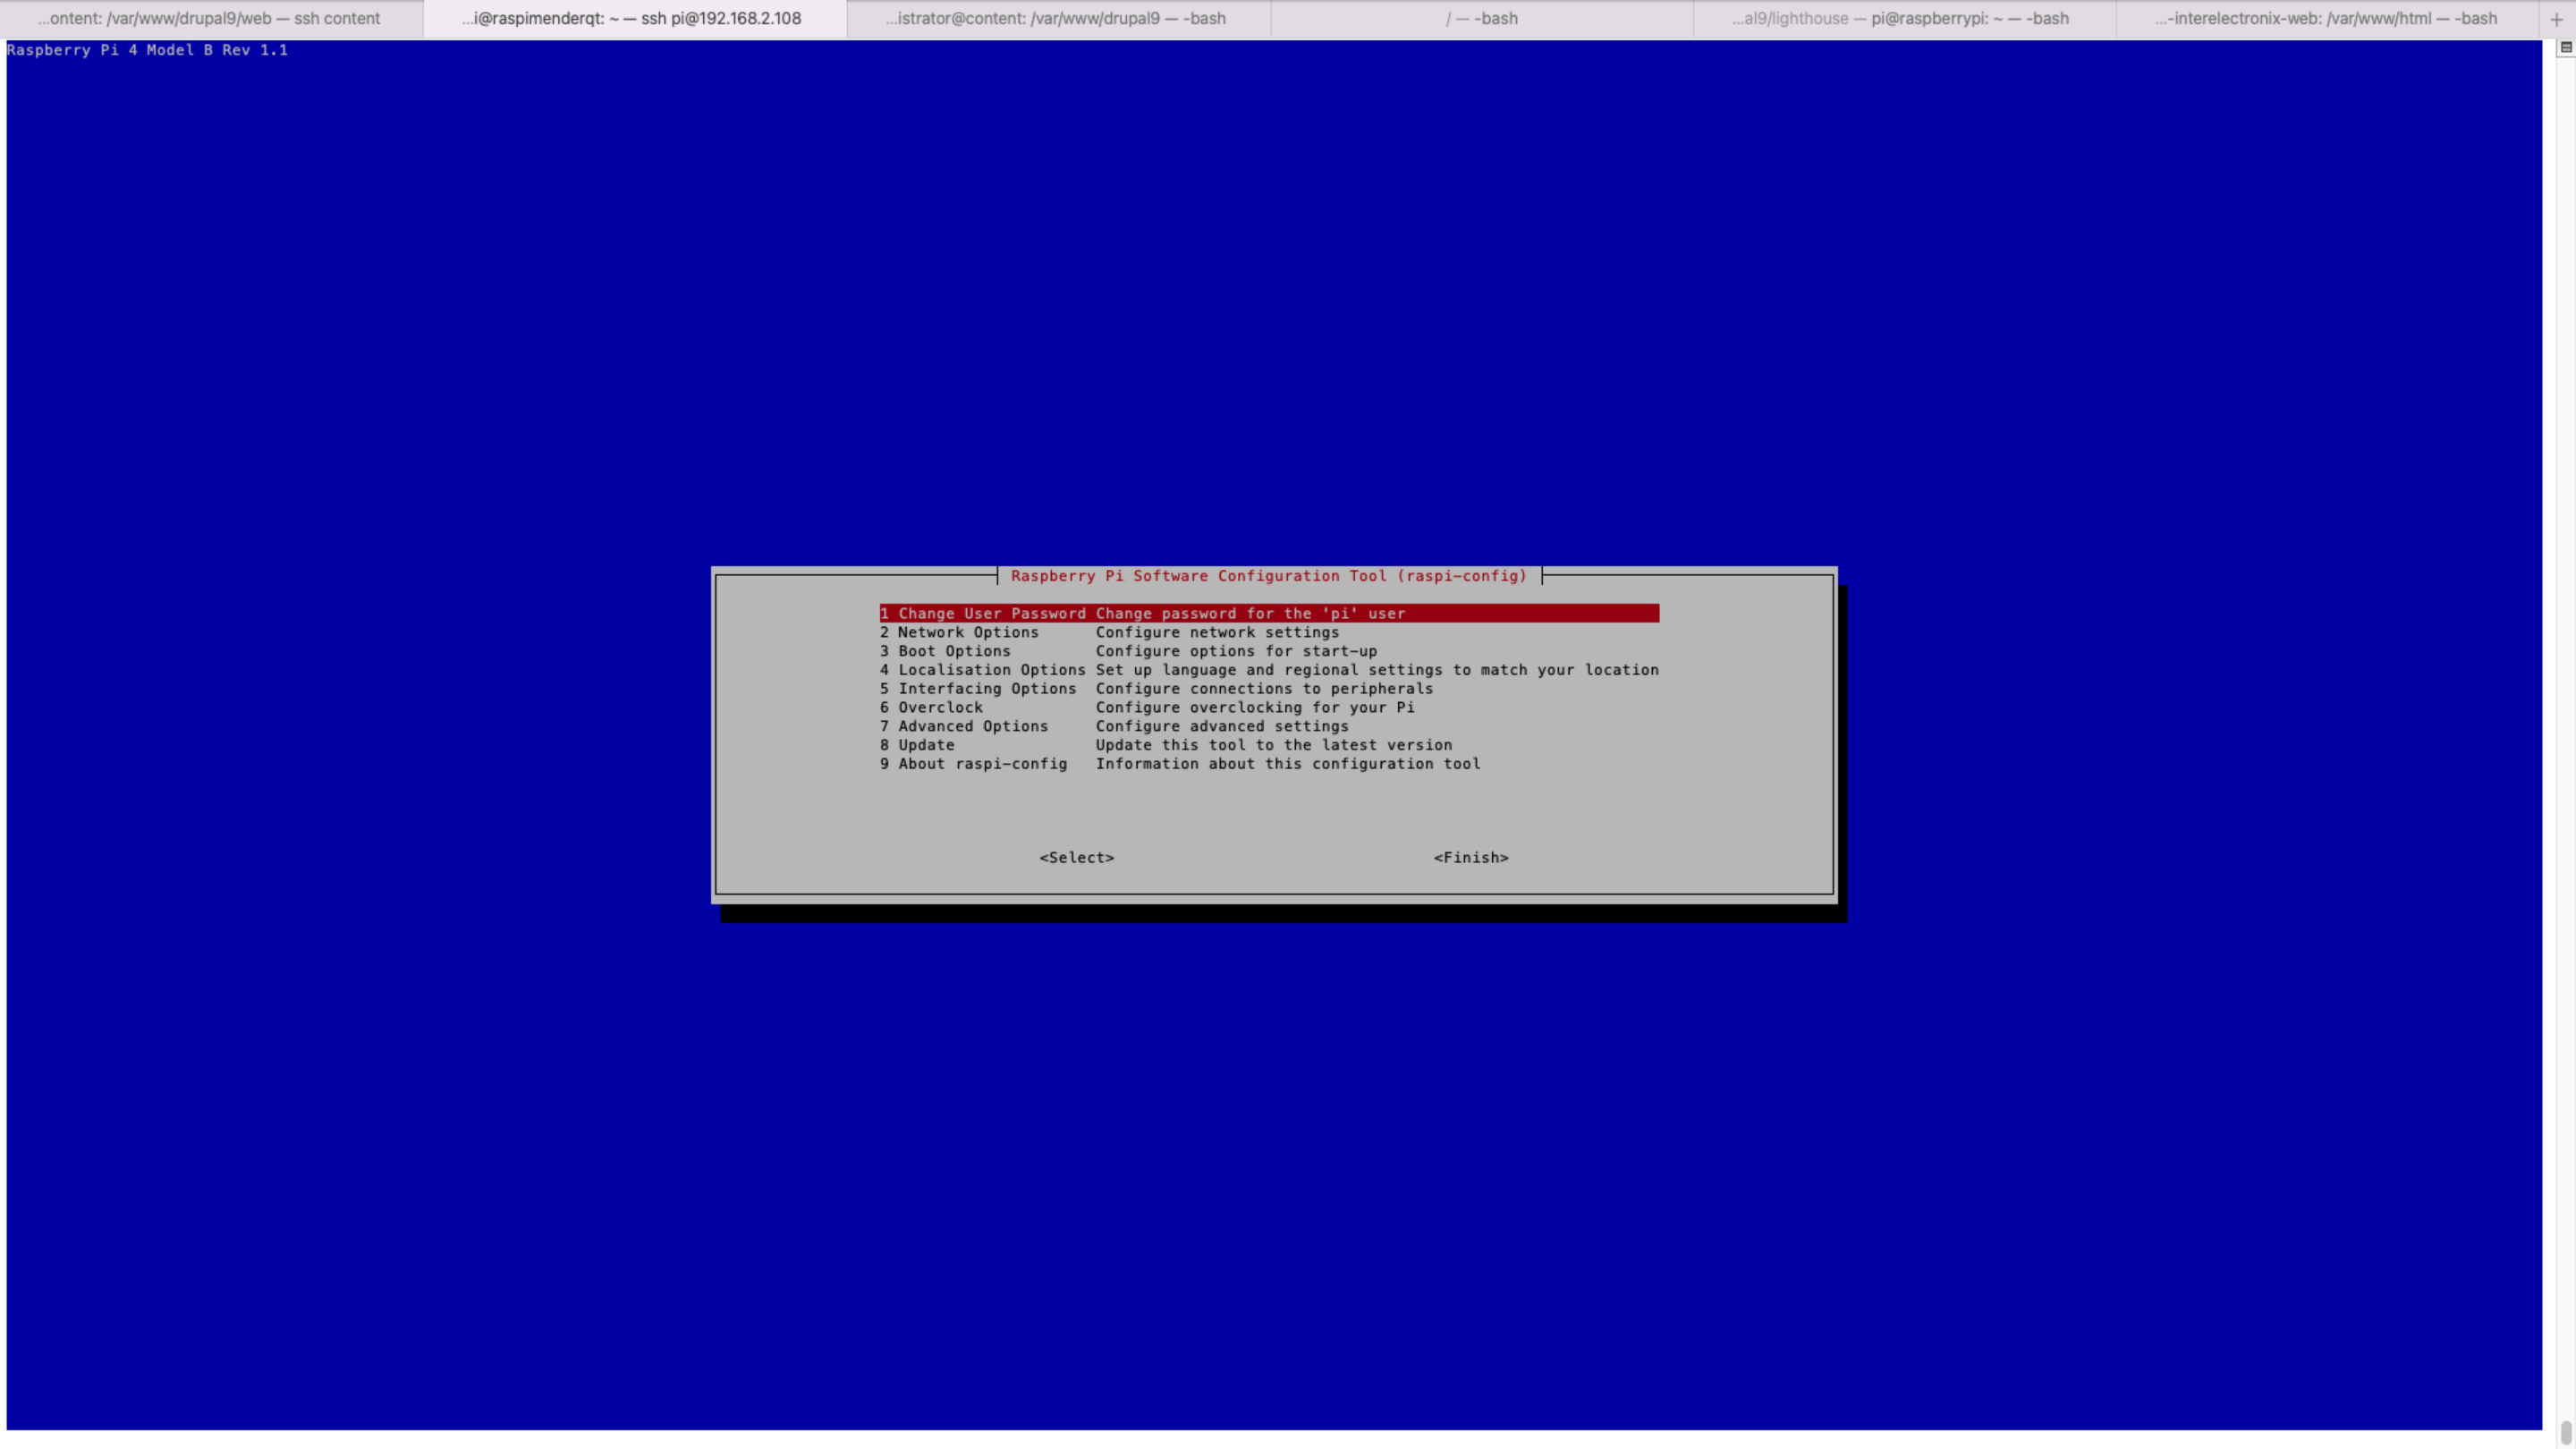
This guide provides instructions for cross-compiling QML for the Raspberry Pi 4, with modifications for the Raspberry Pi4's needs.
This is a guide for installing Raspberry Pi OS Lite on the Compute Module 4. As a work computer, I use Ubuntu 20, installed in a virtual machine.
This is a guide for cross-compiling Qt 5.15.2 for Raspberry Pi 4 and installing it on the Compute Module 4.
It's an update to my blog post Qt on the Raspberry Pi 4, with the difference that this time I'm using Raspberry Pi OS Lite.
This is a guide for configuring the Qt-Creator to use cross-compiled Qt libraries for the Raspberry Pi 4 and to create applications for the Raspberry.
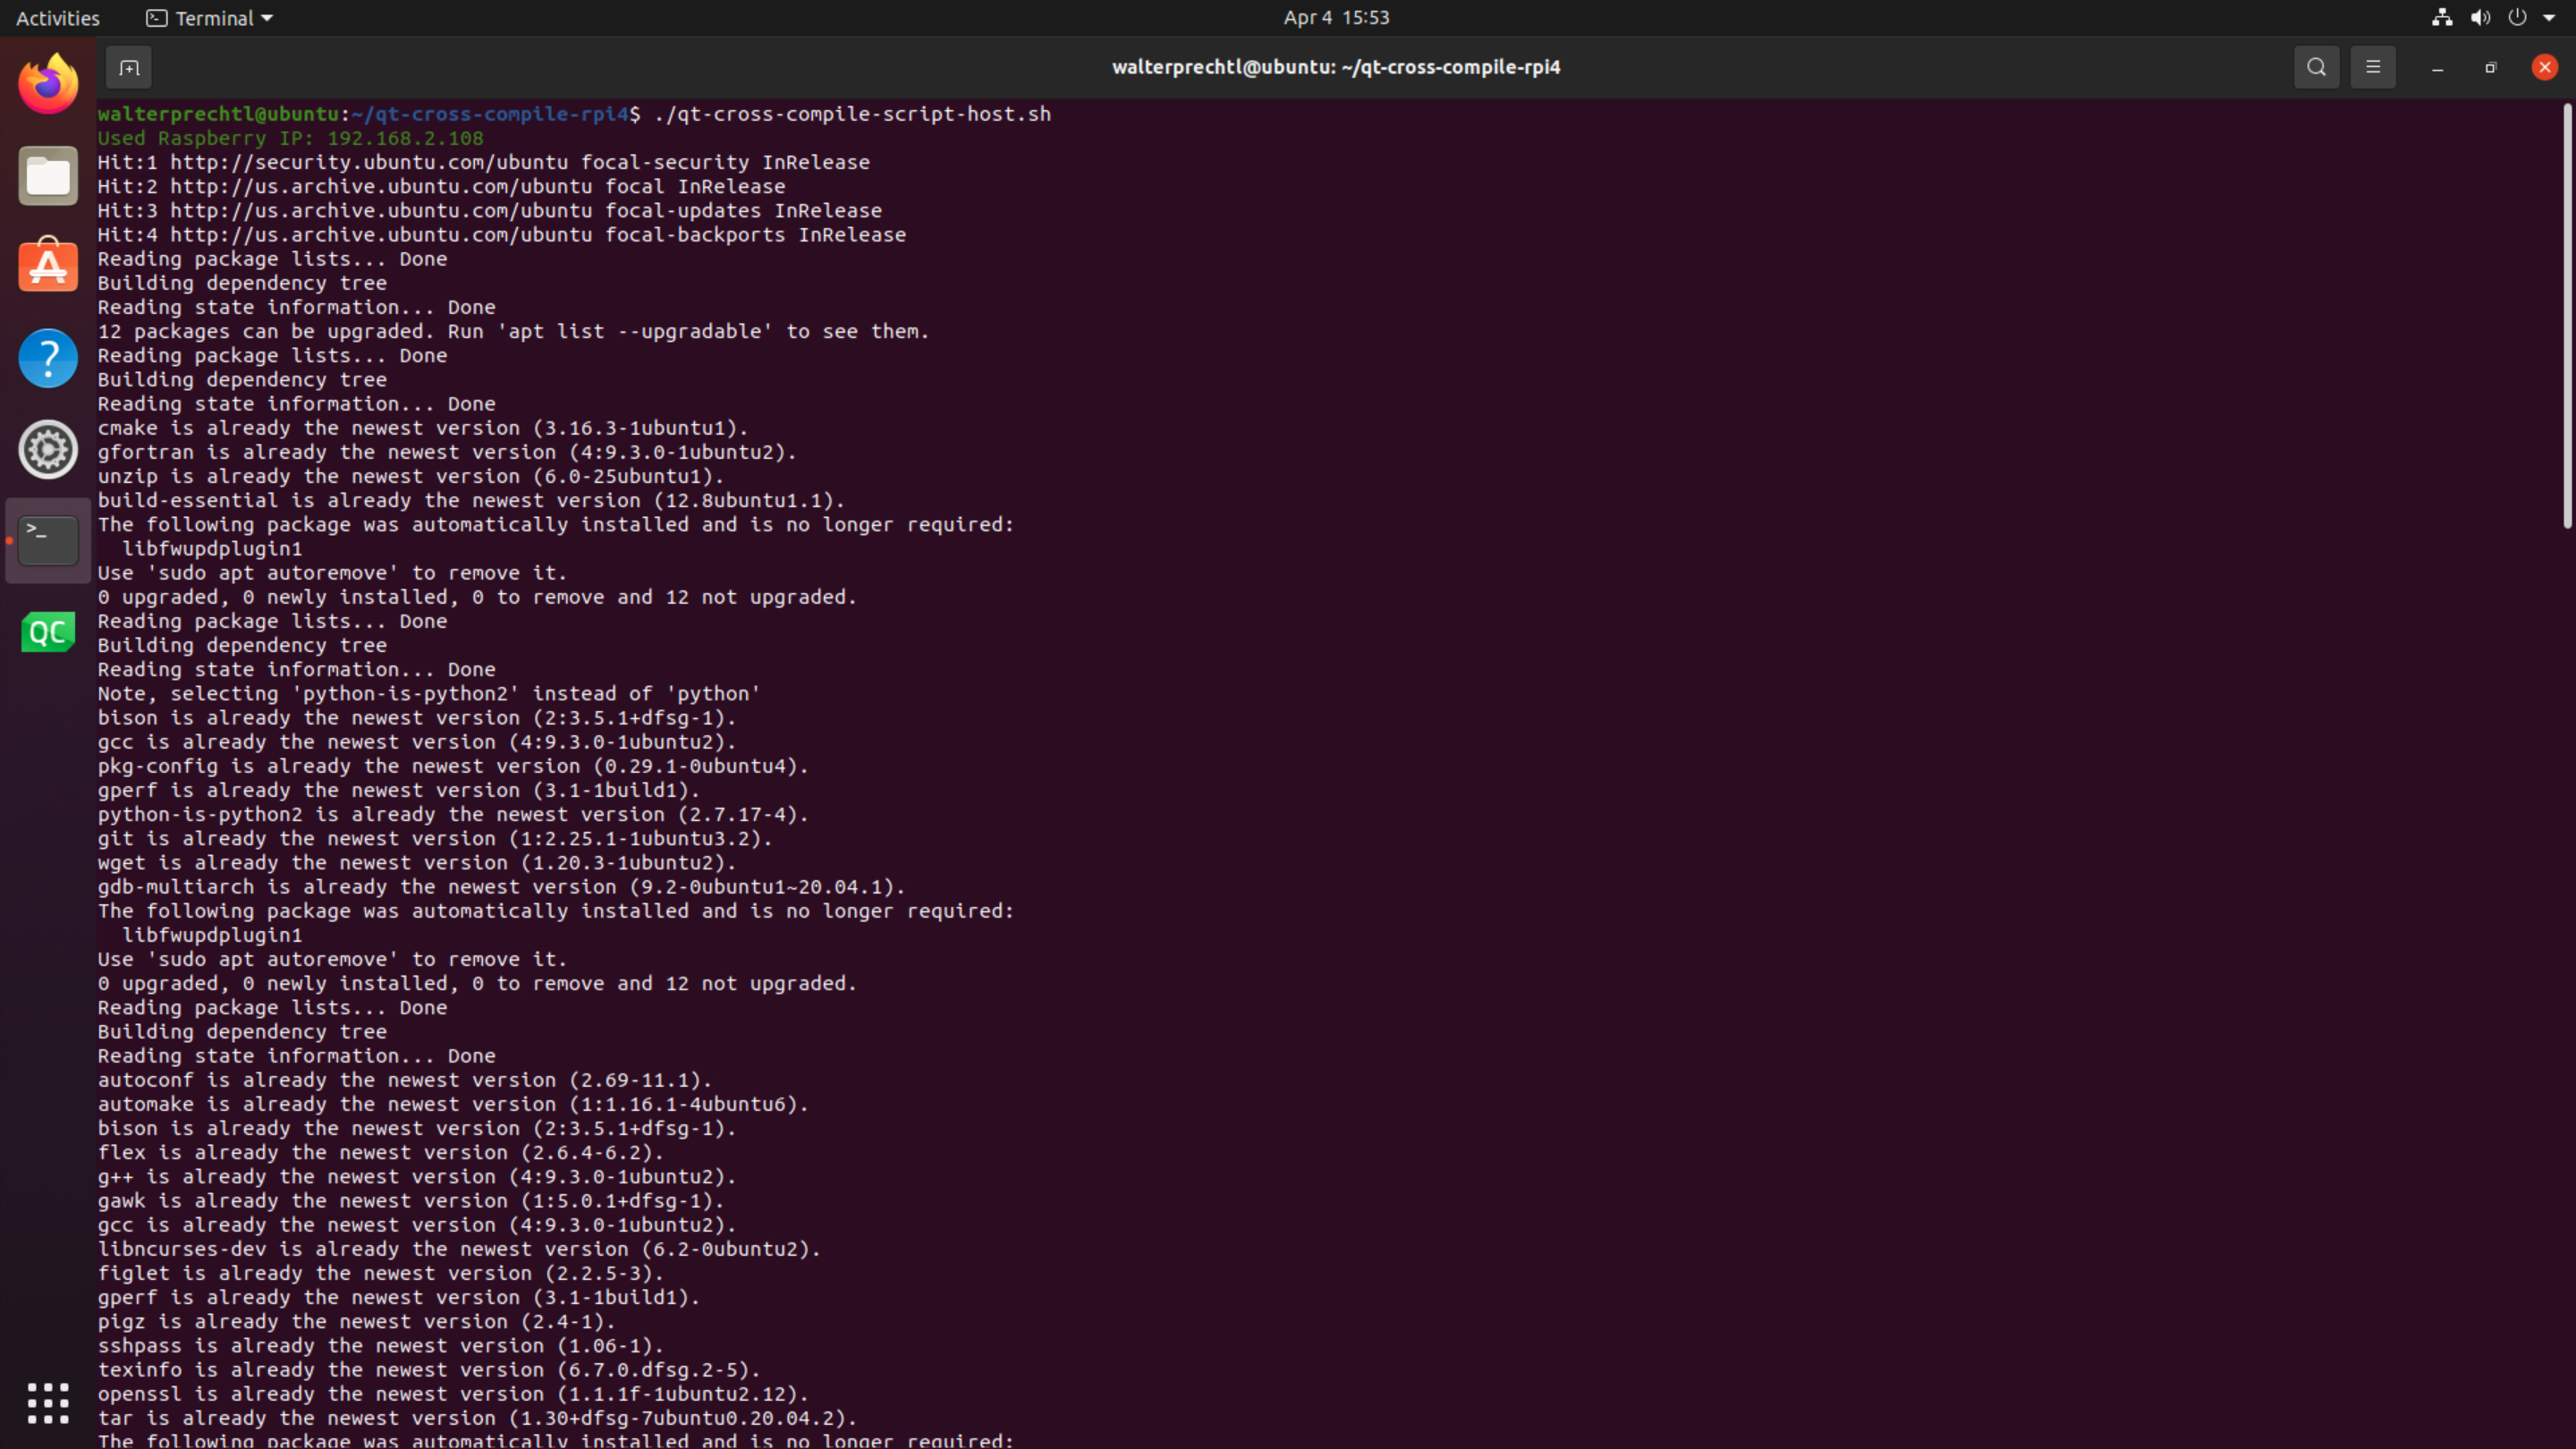
On this page we provide download links for scripts to automatically set up cross compiling on linux host and Raspberry Pi 4 and a description, how to use them.
In this blog, I would like to provide a small Qt Quick application (qml) as an example of a Modbus connection over TCP/IP.
In the Qt examples, I have only found QWidget examples for Modbus connections, and after recently creating a Qt Quick application for this, I would like to provide a slimmed-down version of it as an example.
If you have created a Qt application - or any other application - for the Raspberry Pi 4, you often want the application to be called immediately after restarting the Raspberry after the application has been completed.
This is often attempted with start scripts that can be entered in various places.
However, it is more reasonable to set this up via systemd .
The task was to write a Qt Quick application (GUI) to upload new firmware to a touch controller.
The upload software was provided by the manufacturer in a .exe application that loads a .bin file onto the touch controller.
I wanted to use the Qt classes "QProcess", which can be used to call and control shell applications. On the Linux side, I had already used this successfully several times - but on Windows it didn't work at first.

Yocto recipe to install ddcutil and control settings of an HDMI monitor via I2C.
